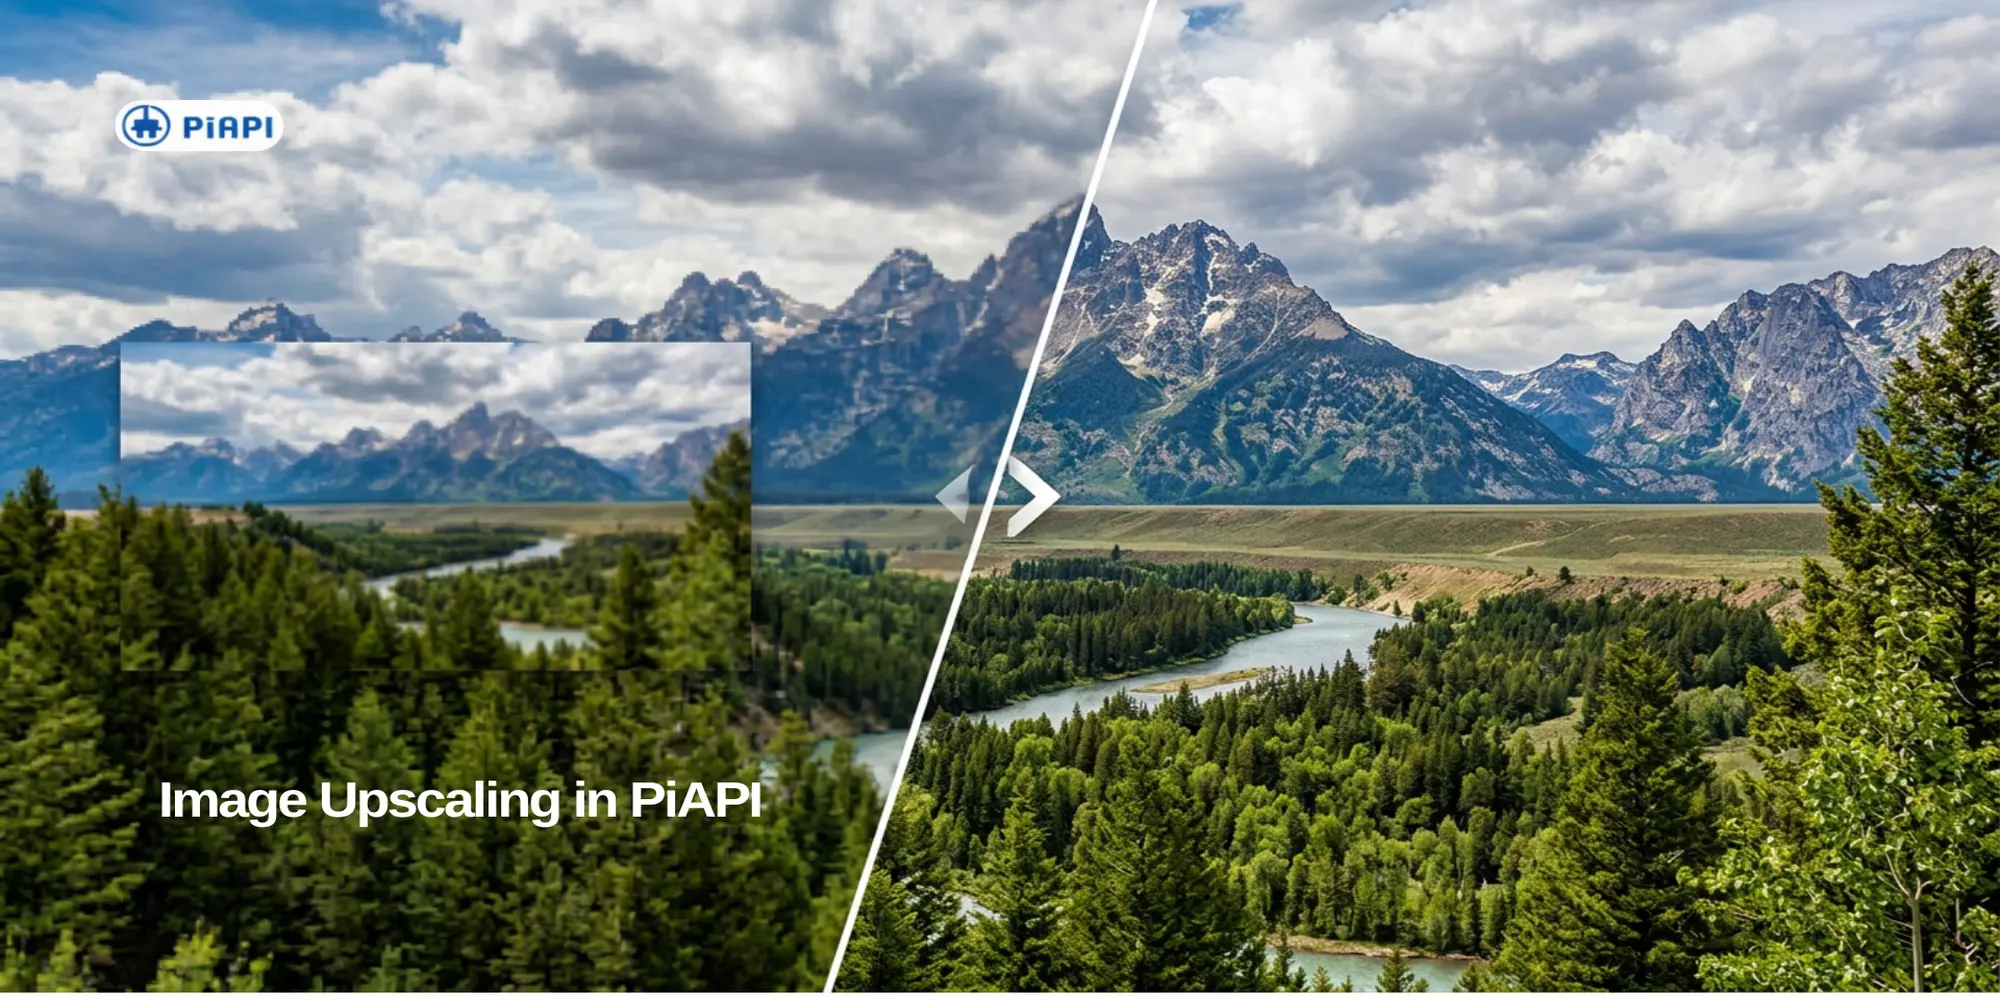
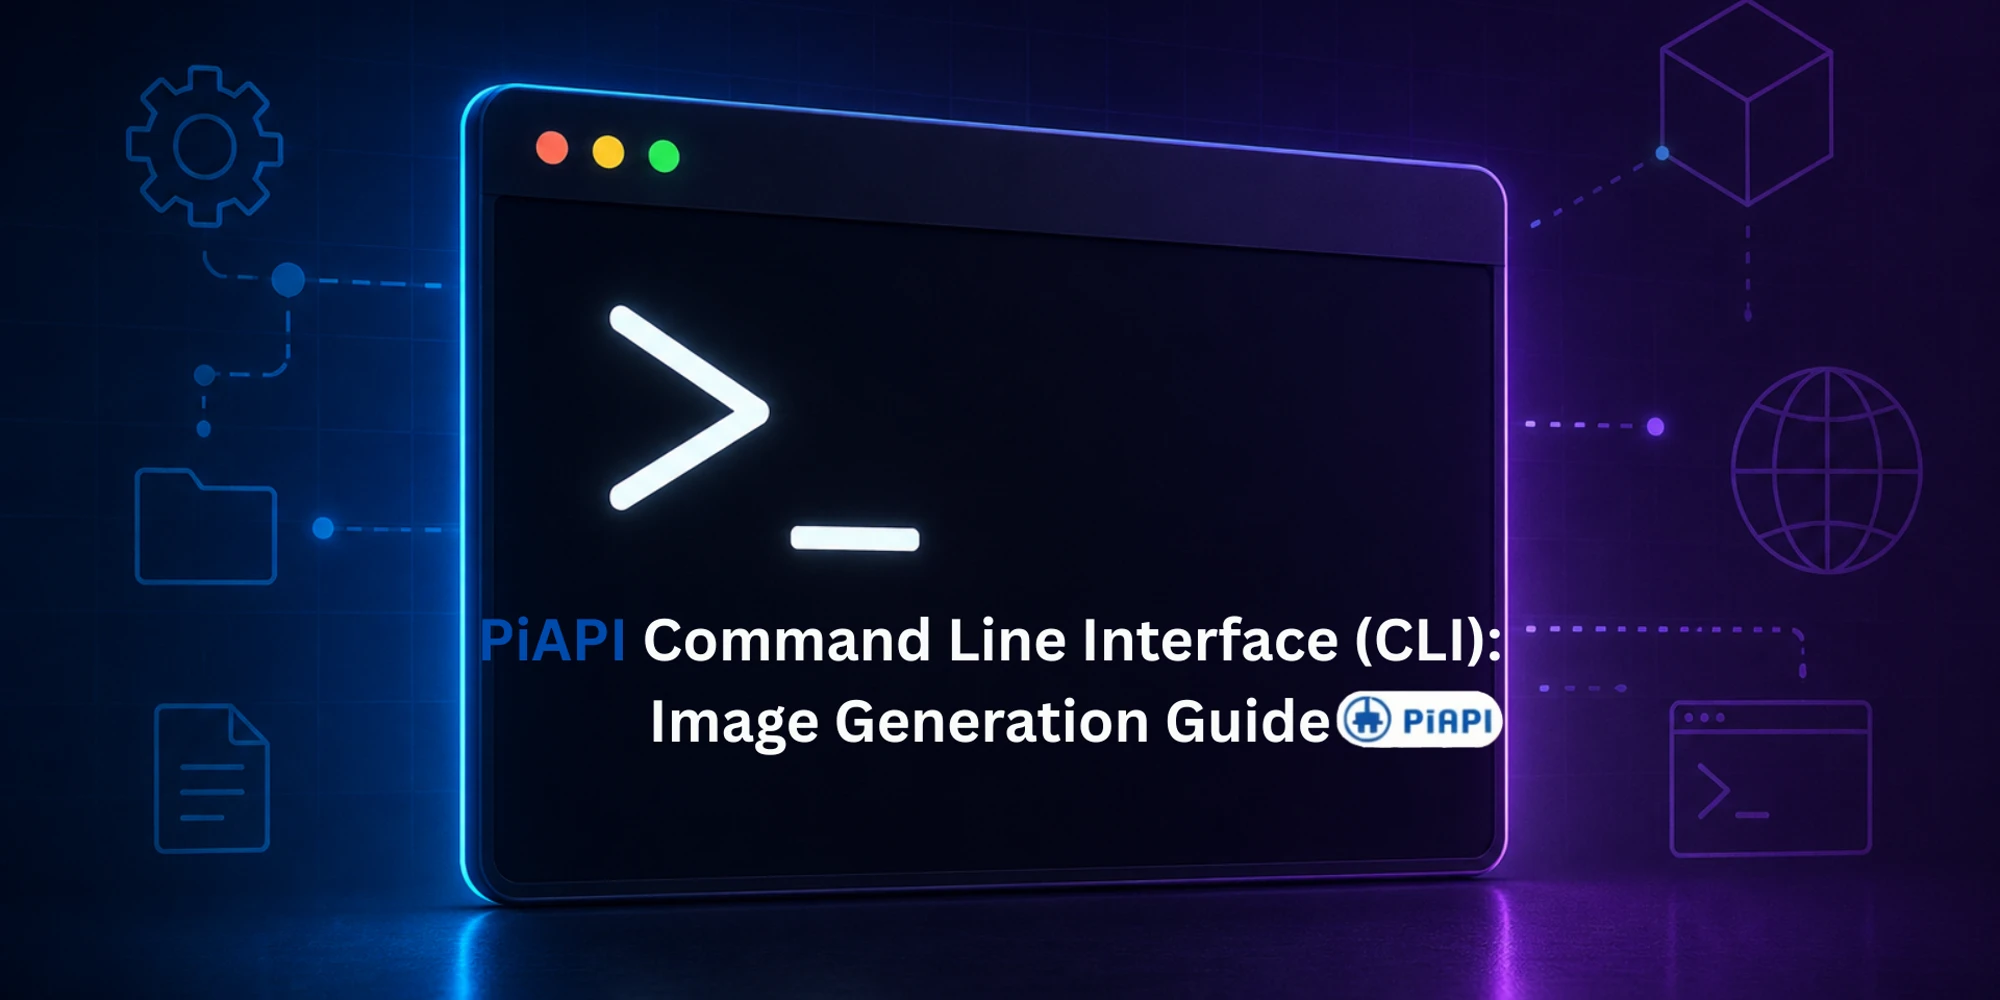
How to Generate AI Images From the Terminal With an AI CLI Tool
A command line AI tool lets you run AI generation tasks from your terminal instead of clicking through a web interface. For image generation, that means you can write a prompt, choose a model, generate an image, save the output, and reuse the same workflow inside scripts or automation.
This guide shows how to generate AI images from terminal workflows with PiAPI CLI. If you still need to install the CLI or connect your API key, start with the PiAPI CLI quick start guide first, then come back to this workflow guide.
Quick answer
To generate AI images from the terminal, install a command line AI tool such as PiAPI CLI, authenticate with your API key, run an image model with a text prompt, and add --download when you want to save the result locally.
What Is a Command Line AI Tool?
A command line AI tool is a CLI program that lets you call AI models with terminal commands. Instead of opening a web app, you run commands, pass inputs as flags or arguments, and receive structured outputs that can be saved, parsed, or reused.
Definition
A command line AI tool is software that lets developers run AI models from a terminal by passing prompts, files, and settings as command arguments. For image generation, it turns terminal commands into repeatable text-to-image workflows.
For AI image generation, a command line AI tool is useful when you want to:
- Generate images from repeatable prompts
- Save outputs into a project folder
- Test several prompt variations quickly
- Batch generate images from a list of prompts
- Add image generation to shell scripts, CI jobs, or AI agent workflows
PiAPI CLI is built for multimodal generation, so the same terminal workflow can support image, video, audio, 3D, and chat models.
Why Generate AI Images From the Terminal?
The terminal is useful when the image generation task is part of a repeatable workflow. A web UI is convenient for visual exploration, but a CLI gives you a command that can be copied, edited, versioned, and automated.
Use terminal-based image generation when you need to:
- Create many variations of a prompt
- Save generated assets into predictable folders
- Test model behavior while building an app
- Run the same generation workflow more than once
- Connect image generation with scripts or AI agents
In short: use a command line AI tool when the image task needs to be repeatable, scriptable, or part of a larger development workflow.
Best fit: A terminal image generation workflow is best for developers who need repeatability. If the same prompt, model, or output folder will be used more than once, a CLI is usually more efficient than clicking through a web UI.
What You Need Before You Start
Before generating images from the terminal, make sure you have:
- Node.js 18 or newer
- A PiAPI account
- A PiAPI API key
- PiAPI CLI installed
You can create an account and get your API key from the PiAPI workspace.
If you have not installed it yet, use:
npm install -g piapi-cliThen authenticate:
piapi auth login --api-key sk-xxxxxFor a fuller setup walkthrough, use the PiAPI CLI quick start guide.
Generate Your First AI Image From the Terminal
After authentication, you can generate an image with piapi run. The exact model name and parameters may change depending on the model you choose, but the workflow is the same: choose a model, pass a prompt, and run the command.
piapi run flux-dev prompt="a cinematic product photo of a ceramic coffee mug on a wooden desk, soft morning light"Expected result: PiAPI CLI sends the prompt to the selected image model and returns the generation result in your terminal.
This is the simplest way to use PiAPI CLI as an AI image generation CLI: one command, one model, one prompt.
Save AI Images Locally From the Command Line
For real work, you usually want the image file saved locally instead of only viewing a result URL. Use the CLI download option when you want PiAPI CLI to save the generated output into your current folder.
piapi run flux-dev prompt="a minimalist app icon of a blue lightning bolt on a white background" --downloadExpected result: the generated image is downloaded locally.
You can also organize outputs by running commands from a project folder:
mkdir ai-assets
cd ai-assets
piapi run flux-dev prompt="a clean hero image for a developer API dashboard, dark UI, neon accents" --download
If the CLI supports an output directory flag for your selected model, you can also keep outputs in a dedicated folder:
piapi run flux-dev prompt="a clean hero image for a developer API dashboard, dark UI, neon accents" --download --out-dir ./ai-assetsThis makes terminal image generation practical for design assets, ad variations, test images, and content workflows.
Batch Generate AI Images From Multiple Prompts
Batch generation is where a command line AI tool becomes more useful than a web UI. Instead of entering prompts one at a time, you can keep prompts in a text file and loop through them.
Create a file called prompts.txt:
a futuristic sneaker product photo on a reflective floor
a cozy coffee shop interior in watercolor style
a mobile app hero image showing a secure payment dashboard
a cinematic close-up of a robot hand holding a flower
Then run the loop for your operating system.
Before running the batch command, confirm the file contains prompts.
For Windows PowerShell:
Get-Content .\\prompts.txtFor macOS or Linux with bash/zsh:
cat prompts.txtFor Windows PowerShell:
Get-Content .\prompts.txt | ForEach-Object {
  piapi run flux-dev prompt="$_" --download
}
For macOS or Linux with bash/zsh:
while read prompt; do
  piapi run flux-dev prompt="$prompt" --download
done < prompts.txt
Expected result: PiAPI CLI generates one image for each prompt in the file and saves the outputs locally.
If you are using Windows and see an error such as Missing opening '(' after keyword 'while', it means you pasted a bash command into PowerShell. Use the PowerShell version instead.
This workflow is useful when you want to test multiple creative directions, build a prompt library, or generate batches of marketing assets.
Use a Command Line AI Tool in Scripts and Automation
A CLI workflow can also be wrapped inside a script. This is useful when image generation is part of a repeatable internal process.
For example, create a script called generate-assets.sh:
#!/usr/bin/env bash

set -e

mkdir -p generated-assets
cd generated-assets

piapi run flux-dev prompt="a SaaS dashboard hero image, clean interface, professional lighting" --download
piapi run flux-dev prompt="an isometric illustration of an AI API workflow" --download
piapi run flux-dev prompt="a product launch banner with abstract blue motion trails" --download
Then run:
bash generate-assets.shExpected result: the script creates a folder and saves several generated images into it.
On Windows, you can create a PowerShell script called generate-assets.ps1:
New-Item -ItemType Directory -Force -Path .\generated-assets | Out-Null
Set-Location .\generated-assets

piapi run flux-dev prompt="a SaaS dashboard hero image, clean interface, professional lighting" --download
piapi run flux-dev prompt="an isometric illustration of an AI API workflow" --download
piapi run flux-dev prompt="a product launch banner with abstract blue motion trails" --download
Then run:
powershell -ExecutionPolicy Bypass -File .\\generate-assets.ps1This is especially useful for teams that want a repeatable asset-generation workflow. Instead of remembering every prompt manually, you keep the workflow in a script and update it when needed.
Generate Images With Flux and Other Image Models From the CLI
Many developers search for a Flux CLI because they want to generate FLUX images from the terminal. PiAPI CLI can support this kind of model-specific workflow while still keeping one command-line interface across multiple model families. For model-specific details, you can also review the Flux API.
For example, you can use a Flux-style workflow for fast image generation:
piapi run flux-dev prompt="a high-detail concept art scene of a solar-powered city at sunset" --downloadYou can also use the same CLI approach for other supported image models, depending on your account and available model list. If your workflow needs a different image model, PiAPI also provides options such as GPT Image 2 API, Nano Banana API, and Seedream API.
piapi model listExpected result: PiAPI CLI prints available models and their supported input fields.
This is the advantage of using PiAPI CLI instead of a separate tool for every model: you can keep one terminal workflow and switch models as needed.
Command Line AI Tool vs Web UI vs Direct API
Each option is useful for a different workflow.
| Option | Best for | Tradeoff |
|---|---|---|
| Web UI | Visual exploration and one-off generation | Harder to repeat or automate |
| Command line AI tool | Repeatable terminal workflows, batch prompts, local files, scripting | Requires comfort with terminal commands |
| Direct API | Production apps and backend integrations | Requires more engineering setup |
Use the web UI when you want to explore visually. Use PiAPI CLI when your workflow starts in the terminal. Use the direct API when you are building image generation into a product or backend service.
The simplest rule is: web UI for exploration, CLI for repeatable local workflows, and API for production software. PiAPI CLI sits between the web UI and direct API because it gives developers a scriptable interface without requiring a full backend integration.
Common Issues When Generating Images From Terminal
The command is not found
If piapi is not recognized, check whether the CLI is installed globally:
npm install -g piapi-cliYou can also run it without a global install:
npx piapi-cli@latest --helpThe CLI is not authenticated
If the CLI cannot access your account, log in again:
piapi auth login --api-key sk-xxxxxFor shared machines or scripts, prefer an environment variable:
export PIAPI_API_KEY=sk-xxxxxThe model name or parameter is wrong
Use the model list command to confirm available models and expected fields:
piapi model listIf a command fails, check the model name, prompt parameter, file paths, and whether your account has access to the selected model.
FAQ
What is a command line AI tool?
A command line AI tool is a CLI program that lets you run AI tasks from terminal commands. For image generation, it lets you send prompts to image models, receive results, and save outputs without opening a web interface.
Can I generate AI images from terminal?
Yes. With PiAPI CLI, you can generate AI images from terminal commands by choosing an image model, passing a prompt, and downloading the result locally. This makes the workflow repeatable because the same command can be saved, edited, and reused.
Is PiAPI CLI only for image generation?
No. PiAPI CLI supports multimodal workflows, including image, video, audio, 3D, and chat models. This article focuses on image generation because it is one of the most common terminal automation use cases.
Can I batch generate AI images?
Yes. You can place prompts in a text file and loop through them with PowerShell, bash, or zsh. This lets you generate multiple images from the command line without entering each prompt manually.
Should I use CLI or API for AI image generation?
Use CLI when you want fast terminal workflows, local testing, batch prompts, or automation scripts. Use the API when you are building image generation into a production app or backend service.
Start Generating AI Images With PiAPI CLI
PiAPI CLI gives developers a practical way to generate AI images from terminal workflows. You can run one-off prompts, save outputs locally, batch generate images, and reuse the same workflow inside scripts or AI agents.
To explore the product, visit the PiAPI CLI page. If you need setup help first, read the PiAPI CLI quick start guide.