
Ghibli Style Images: Convert Photos With AI
May 28, 2026
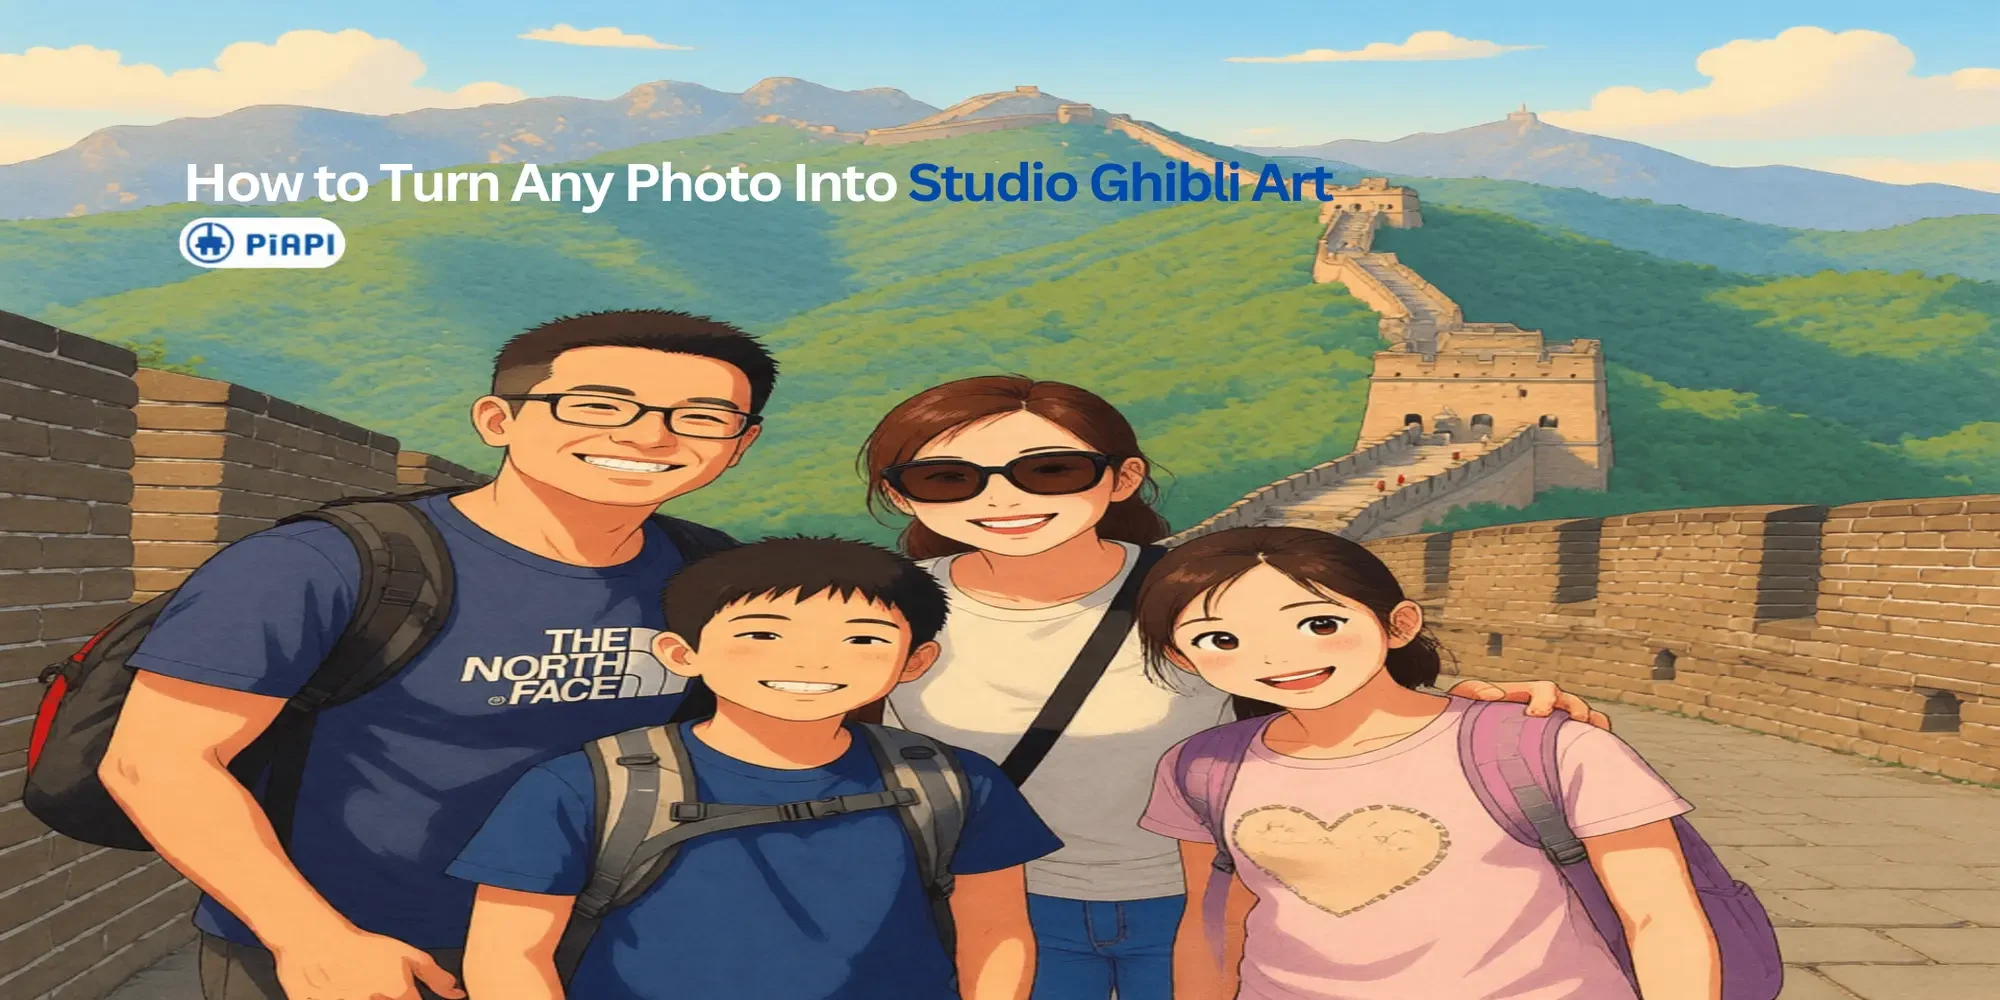
Ghibli style images work best when the AI has a strong photo to preserve and a clear creative direction for what should change. A good result usually keeps the subject, pose, outfit, pet shape, room layout, or travel scene recognizable, while changing the image style into softer linework, warm light, painterly color, and a nostalgic storybook mood.
This guide focuses on the practical part: how to choose the right photo, what the preset Ghibli-style prompt is already doing, when to add optional edit notes, how to fix weak outputs, and how to decide when the image is ready to animate.
If you already have a photo ready, you can turn your photo into Ghibli-style art with PiAPI's photo-first workflow. The playground already includes the Ghibli-inspired style prompt, so you can upload an image and generate without writing a prompt yourself.
Quick answer: To convert a photo to Ghibli style, start with a clear image and use a workflow that preserves the subject and composition while applying soft hand-drawn linework, warm lighting, painterly backgrounds, expressive details, and storybook color. With PiAPI, the core style prompt is preset; optional notes are only needed when you want edits like removing background clutter, changing the mood, or protecting a specific detail.
Definition: A Ghibli-style image is an AI-generated or AI-edited picture that uses warm animated-film-inspired traits such as soft linework, painterly color, gentle lighting, expressive features, and storybook-like scenery. It should be described as Ghibli-inspired, not official Studio Ghibli artwork.
What Makes a Good Ghibli-Style Image?
A strong Ghibli-style AI image is not just a photo with an anime filter. The best results usually combine a recognizable subject, a clear scene or emotional moment, and a visual direction that feels hand-drawn, warm, and cinematic.
For photo-to-image workflows, the most important part is balance. You want the AI to change the style without losing the person, pet, object, or place that made the original photo worth using. PiAPI's playground handles the preset style conversion, while the source photo determines how much useful detail the model has to preserve.
Good results usually have soft linework instead of harsh outlines, warm daylight or sunset tones, painterly textures, and natural background details like clouds, trees, flowers, rooms, kitchens, streets, or fields. The image should feel like a quiet story moment, not a generic cartoon filter.
Use the phrase "Ghibli-inspired" when writing optional notes or publishing outputs. PiAPI is not affiliated with Studio Ghibli, and the goal is to describe a warm animated-film-inspired visual direction rather than claim an official style or relationship.
Choose the Right Photo Before You Generate
The best photo for Ghibli style AI is usually simple, clear, and emotionally readable. The AI can do more with a clean source image than with a crowded, blurry, or heavily filtered one.
Strong source photos usually show one main person, pet, object, or scene. The subject should be well lit, the pose should be easy to understand, and the background should add context without taking over the image. A portrait with a visible face, a pet photo with clear eyes and markings, or a travel shot with a strong landmark will usually convert better than a dark, cropped, or heavily filtered image.
Weak source photos tend to hide the subject in shadow, crop off important details, or include too many people and background distractions. If the original photo is already hard to read, the generated image will often struggle too.
If you want a profile picture, start with a portrait where the face is visible. If you want a pet portrait, use a photo where the animal's eyes, ears, and body shape are clear. If you want a travel scene, choose a photo with a strong landmark, street, mountain, sea view, garden, or skyline.
How to Turn a Photo Into Ghibli-Style Art
The simplest workflow is upload first, generate second, refine only when needed.
- Upload one clear photo.
- Click generate. The Ghibli-inspired style prompt is already preset in the playground.
- Review the output for identity, composition, and atmosphere.
- Add optional notes only if you want something removed, something added, or a specific detail protected.
- Regenerate if you want a cleaner version or a more specific edit.
The preset workflow already handles the Ghibli-inspired art direction. Optional notes are for extra control, such as removing a background object, keeping a face closer to the original photo, adding warmer lighting, or making the background less cluttered. If you want to understand the model behind broader image editing workflows, PiAPI also has a Qwen Image API page for image generation and editing.
When you do add notes, it helps to separate what should stay the same from what should change. For example, you might want the face, pose, outfit, pet markings, room layout, or travel scene structure to stay close to the original. At the same time, you may want the lighting, color palette, texture, linework, and background mood to become softer and more cinematic.
The preset prompt already handles the Ghibli-inspired look. Most users can skip writing anything and only add a short note when they want a specific edit.
When to Add Optional Edit Notes
Optional notes are useful when you want to change something specific in the uploaded image. Keep them short and practical.
Good optional notes sound like normal edit requests: remove the person in the background, keep the original outfit and pose, make the lighting warmer, add more flowers and greenery, remove the logo on the shirt, make the room less cluttered, or keep the pet's fur pattern the same.
You do not need to describe the full Ghibli style yourself. The playground already does that part.
Common Problems and How to Fix Them
If the result looks wrong, identify the one thing that failed first. Many issues can be fixed by choosing a clearer photo or adding one short optional note.
| Problem | Likely Cause | Simple Fix |
|---|---|---|
| The face no longer looks recognizable | The face is small, blurry, or partly covered | Use a clearer portrait, or add a note to keep the face and hairstyle close to the original. |
| The background changed too much | The scene is crowded or unclear | Use a cleaner photo, or add a note to keep the original room, street, landmark, or landscape. |
| The pet looks different | The photo does not show markings or body shape clearly | Use a sharper pet photo, or add a note to keep the fur pattern and body shape. |
| The image feels too busy | The source photo has too many distractions | Crop the photo or add a note to remove background clutter. |
| The output is close but not perfect | The first generation needs refinement | Regenerate once, or add one short edit note. |
One short note usually works better than a long instruction list.
Want to Animate the Image Next?
Once you have a Ghibli-style still image you like, you can use it as the starting frame for a short cinematic video. A clean still image usually gives the animation model a better base than an ordinary photo, especially when the subject, lighting, and background already look consistent.
For the full next step, read how to animate Ghibli-style AI images into cinematic videos . The important idea is simple: create the still image first, then animate the result with an image-to-video workflow such as Kling 3 Omni.
Final Takeaway
The best Ghibli style images start with a good source photo and a workflow that protects the subject before changing the style. Choose a clear image, use the preset conversion, add optional notes only when needed, and fix one problem at a time.
When you are ready to try the workflow, start with a still image first: turn your photo into Ghibli-style art , then animate the result once the image looks stable.
Related reading: PiAPI previously tested Ghibli-style image generation with GPT-4o in this Ghibli style image generator API article . This guide is more focused on the no-prompt photo playground workflow.